Privacy statement: Your privacy is very important to Us. Our company promises not to disclose your personal information to any external company with out your explicit permission.
A properly pitched tent can protect you from adverse weather conditions and give you a comfortable night of sleep before or after an outdoor adventure. Before heading to your next campsite, it is important to familiarize yourself with your tent and practice setting it up at home. Here are the steps to get you started:
1. Find a good spot for your tent. Look for flat, level-ground free of sticks or stumps. If needed, brush aside rocks, branches, pinecones, and any other removable object before setting up your tent floor. Be sure to put these objects back after you leave your campsite. And don`t forget to look up – ensure that your space is free of dead trees or [widow makers," the low-hanging tree branches that are about to fall.
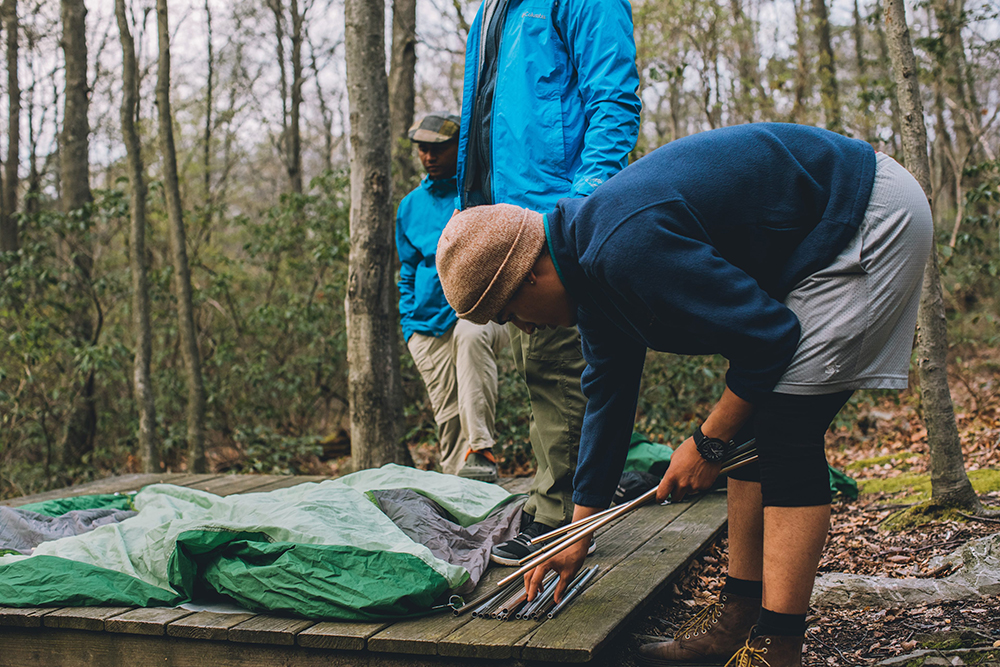
2. Lay out the footprint. The footprint is essentially a ground tarp that protects the bottom of the tent. Once you`ve found a good spot, lay the footprint flat on the ground, with the shiny side up.
3. Lay out the body of the tent. Place the body of the tent on top of the footprint, matching each corner of the body to each corner of the footprint. Be sure the doors are facing the right direction, taking into account the direction of the wind.

4. Assemble the poles. Take the time to insert each pole carefully into the adjacent pole and make sure each pole is fully seeded in the next. Avoid letting the poles snap by themselves and avoid snapping the poles together under the force of a bungee cord.
5. Match the poles to the grommets on the tent body and the footprint. The grommet is the metal ring or eyelet found on each corner of the tent.

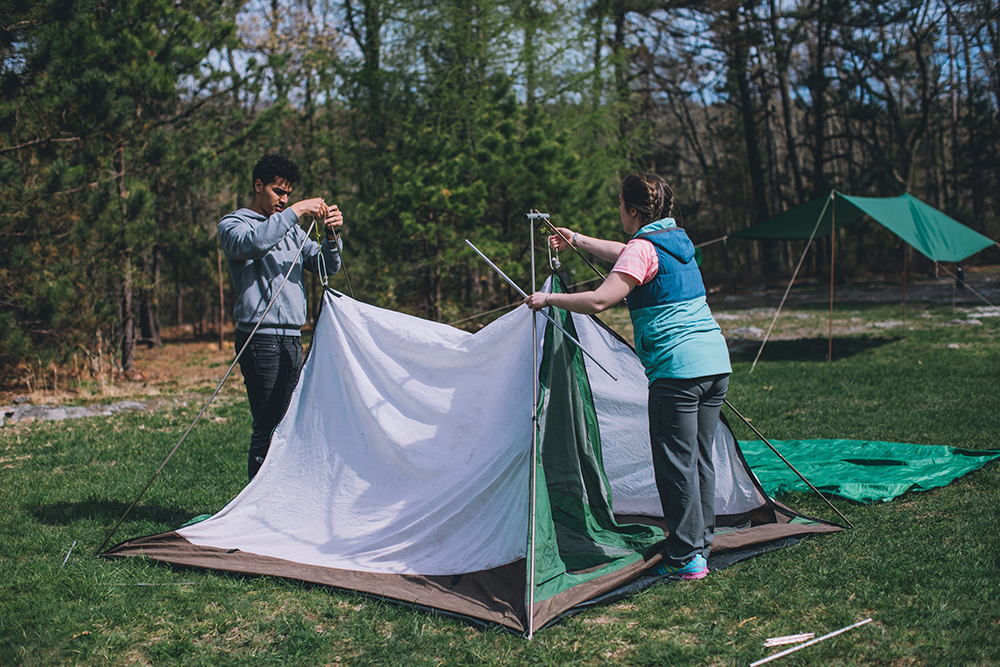
6. Attach the tent body to the poles. Raise the tent body up and secure it to the poles, using the clips.

7. Lay out the rain fly on top of the tent. Make sure the fly zippers are closed before attaching the fly to your tent poles. This will avoid potential problems with your fly`s door zippers. Ensure that the door on the rain fly matches up with the door on the tent. Connect the rain fly to each corner of the tent.
8. Stake out the tent. Choose a corner of the tent, and insert a stake into the tie-down loop. Carefully push pegs into the ground at a 45-degree angle, with the top of the peg pointing away from the shelter. To avoid bending a peg when encountering tough soil, never kick the peg with your boot. Instead, use a medium-size rock to gently hammer the peg into the ground. Repeat this on each corner of the tent, followed by the doors and all of the guy lines.
9. Tighten up the rain fly. Tighten the adjustable straps until the fly is covering all sides and corners of the tent floor. Be sure to tension each corner evenly to make sure that the seams line up over the poles.

Privacy statement: Your privacy is very important to Us. Our company promises not to disclose your personal information to any external company with out your explicit permission.

Fill in more information so that we can get in touch with you faster
Privacy statement: Your privacy is very important to Us. Our company promises not to disclose your personal information to any external company with out your explicit permission.